‏إظهار الرسائل ذات التسميات tips and tricks. إظهار كافة الرسائل

الخميس، 25 فبراير 2016

Get Samsung Galaxy Edge Style Notifications On Your Android Device...

Get Edge-style notifications about incoming phone calls on any Android device
The Samsung Galaxy S6 Edge came with an innovative way of displaying notifications - illuminating the bevelled edge along the side of the screen. Now even if you don’t have an S6 Edge, you can still get a taster of this Edge display using the Edge Color Notifications app.
The drawback is that no device other than the S6 Edge has that bevelled edge, so the app compensates by illuminating the edges of your screen with animations instead. You can also assign specific colours to your important contacts, so you can see who’s calling at a glance. You can even tell the app to reserve animations for the contacts you’ve assigned a colour to, so if you see an Edge-style notification, you’ll know someone important is calling!

STEPS TO STYLE...

1. Enable settings

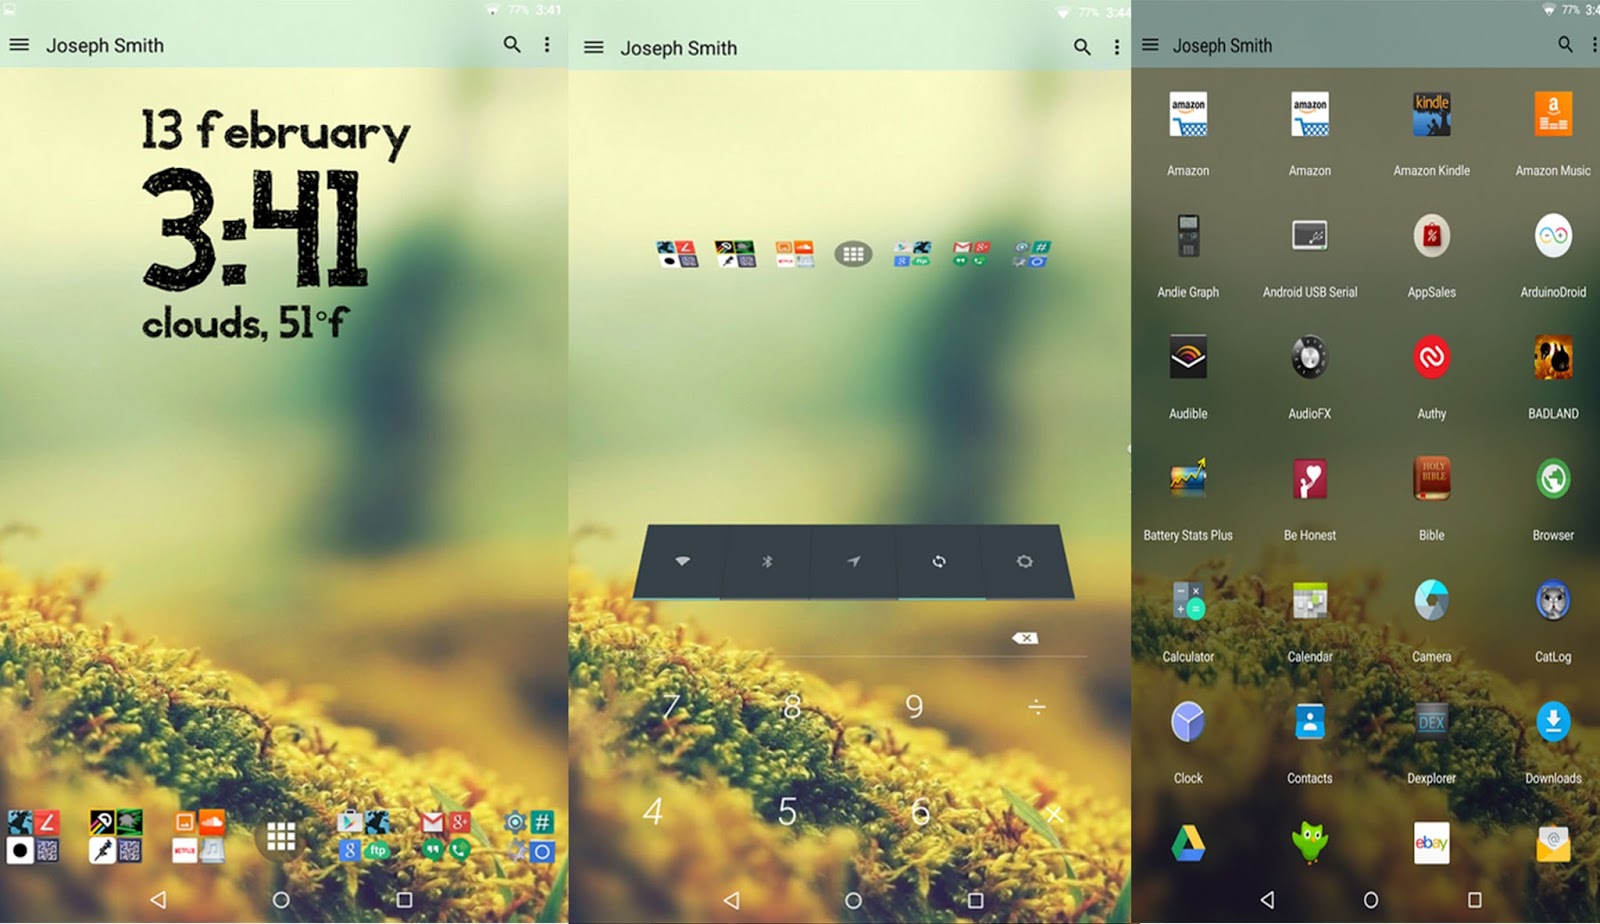
Download the Edge Color Notifications app from the Play store and launch the app. To set up Edge Color Notifications, open the side menu and select Home. Enable both the People Edge and Phonecall notification options. Open the side menu and select Phone Call Settings.

2. Customise Your Columns

You can customise the Edge effects for when you receive a phone call. This includes changing the width of the animated columns (so the effect is more noticeable or subtle) and changing the column’s default colour. You can also choose from a list of animations.

3. Left, Right Or Both

One of the most important changes you can make is choosing which side of the screen your animations will appear: left, right or both. If you select the Full Border animation, your columns appear around every side of the screen, regardless of what you select here.

4. Assign specific colours

By default, Edge Color Notifications will apply the same colour to every single person in your contact lists, but you’ll usually get more value out of the app by assigning specific colours to people. To do this, open the side menu and select Contacts Colors.

5. Choose a new colour

You’ll see a list of all your contacts, with the same default colour next to each contact. To assign someone their own colour, tap the block of colour that appears next to their name and choose a new colour from the pop-up that appears. Tap OK to save your changes.

6. Be Selective

Once you’ve finished assigning colours, you can restrict Edge Colour so that it only displays the Edge animations for contacts that you’ve assigned a specific colour to. If this is the case, return to Phone Call Settings and select Only show contacts with specific color set.

Enjoy your Edge notification Style device...

السبت، 20 فبراير 2016

#Hacker zone - Underclock for better battery life...


A few choice tweaks to your kernel settings can also extend the life of your battery Changing the clock speed is always about finding the right balance between power and battery life. Overclocking will likely require you to sacrifice a little of the latter.

Underclocking is the opposite: it involves reducing the speed of the processor in an attempt to extend your battery life.It isn’t a magic wand. Underclocking causes some tasks to take longer to complete, which offsets the benefits of having the processor using less power at its maximum level. Nevertheless, for some tasks it can be beneficial and switching the governor can have noticeable effects. As ever, the best approach is to experiment with settings to find ones that work for you. And don’t push things too far – if you set the processor clock speed too low it may not deliver enough speed for your apps to work. 

1. Set up the app

In EX Kernel Manager, create a backup of your existing kernel settings. Open the sidebar and select Tools, followed by Kernel Backup. Tap the disk icon to create the backup and give it a recognisable name should you need to restore it someday.

2. Reduce the clock speed

Now go into the CPU settings. Underclocking is the same as overclocking, except in reverse. Try experimenting with lower maximum frequencies, so that your phone runs at a slightly slower speed, causing it to use less power. Just don’t overdo it!

3. Change the governor

You also need to adjust the governor settings. The obvious one to use is the Powersave governor, which locks the CPU to the lowest frequency. However, you might do better with the Performance governor, so that tasks will complete in the shortest possible time.

4. Test the changes

Exit the app and then test your changes. Open a few apps or games and run a few common tasks. It’s likely that you’ll notice the phone is a little slower, but if it’s too slow then you will need to tweak your changes. You want to find a balance between speed and batter.

5. Explore Powersave mode

The EX Kernel Manager also has a Powersave utility. This is activated by tapping the leaf icon at the very top of the app’s screen. This mode sets the processor to run at predefined levels and enables you to quickly reduce power consumption.

6. Tweak settings

To change the Powersave mode settings, tap the three-dot menu icon and choose Settings. You can set Powersave to activate automatically on a certain battery level or hit Advanced settings to reduce the CPU speed even further. Again, keep your changes small.

Enjoy Great New Powerd Life....

الثلاثاء، 1 ديسمبر 2015

Improve your battery life

Running your QHD device in full HD mode can make a huge difference to your device’s performance


A lot of flagship devices now feature a QHD screen with a resolution of 1440 by 2560 pixels. As the name suggests, this is equivalent to four times HD and on a 5.1-inch screen (as seen on the Galaxy S6), it equates to around 577 pixels per inch. Even compared to full HD (1920 by 1080), QHD offers over 1.6 million additional pixels! While this is extremely impressive, the reality is that for many people there is actually no visible difference at this small screen size between the full HD and quad HD. Indeed, this is why many manufactures have opted to stick with full HD resolution screen for their flagships.
While the benefits of such high resolution display are arguably minimal, there are definite downsides. Driving such a high resolution display puts additional load on the system components, primarily the graphics processor and memory, which in turn can lead to reduced performance and battery life. particularly when gaming or using similarly intensive app, having to deal with so many additional pixels can have a real impact on the experience. Thankfully, if you are a user who is comfortable with some relatively basic hacking of your Android device, there are ways in which you can revert to a lower resolution.This can be done for the OS as a whole or for some devices on a per-app basis. If you use a FHD device already, you can drop to HD in the same way for similar benefits.

Steps:-

1. Root and back up

The resolution settings for your device are stored in a file located on the system partition of your Android device that is read-only by default. To edit the file, you have to root your device. Before doing so, ensure you have a way to return to stock as editing the file may prevent OTA updates from being applied.

2. Manually edit the build.prop 

You can manually edit the /system/ build.prop file to change your device’s resolution. To switch from QHD to FHD, adjust the ro.sf.lcd_ density line to 480 and the width and height lines to 1080 and 1920 respectively. Be warned, change the build.prop with care!

3. Use a build.prop editor to be sure

If manually editing the build.prop file is too daunting – and be aware, an error in the file can easily cause your device to boot loop – there are a number of build.prop editors available on the Google Play store. Build Prop Editor (Free) by JRummy works well for a safer modification.

4. Resolution Changer Pro

Resolution Changer Pro, also free on the Play store, is an app that is dedicated to changing your display’s resolution. Remember when you make modifications that the width and height values are based on a portrait orientation for phones and landscape orientation for tablets.

5. Samsung’s Game Tuner

If you have a Samsung device and you only wish to modify your device resolution for gaming, then you are in luck! Samsung has recently released Game Tuner via the Play store to permit custom resolution and FPS settings on either a universal or a per-game basis.

6. TV or monitor connections

One situation where you might particularly want to customize the resolution of your device is if you are connecting to a monitor or television. Resolution Changer Pro (see step 4) enables you to choose an additional resolution to be applied when an external display is connected.

7. Density adjustments

After you have changed your resolution, it’s worth investigating the effects of just changing the density. A higher density shows more data on the screen, but be aware, not all apps will perform correctly at custom densities so trial and error may be needed!

8. Check screen resolution

After you have applied your updates and rebooted (changes don’t take effect immediately), everything will probably look the same! To be sure your changes have been applied, use an app such as Screen Resolution & Specs by K. Lee, free from the Play store.

9. Benchmark improvements

Another interesting step to take is to use benchmarking tools to see what level of performance improvement is being experienced. Since lowering the resolution will decrease the load on the graphics processor, GFXBench is a good tool to use to measure changes.

10. Make temporary changes

Although build.prop changes are only applied after boot, some tools use Android shell commands to apply changes with immediate effect, which is ideal for testing. NOMone Resolution Changer from the Play store is an ideal app for experimenting with densities.

الثلاثاء، 8 سبتمبر 2015

Mix and match icon packs in Lucid Launcher - Android Tips & Tricks

Use Icondy and Lucid Launcher to choose what icons you want to display


While icon packs are a great way to customise the look of your Android, they don’t always offer what you’re looking for. In this tutorial we’re going to show you how to use Icondy to mix together icon packs, giving you better control over the look and feel of your homescreen. It’s a pretty simple process, although at the moment the app only supports Lucid Launcher, which means if you’re using a different third-party launcher app you’re going to be out of luck. So to get started you’ll need to download Lucid Launcher, then you’ll need to grab Icondy from Google Play. There is a free version to play around with, so you’ll probably want to get that first to make sure everything works okay with your device. You can then buy the premium version as an in-app purchase if you want.


  • Get some icon packs 

First up you’ll need to have some icon packs installed. If you don’t have any, head to Google Play and search for Icon Pack. You’ll be given loads of results. Find a couple that you like and download them. When they’ve finished installing, head back to Icondy.

  • Create your own pack

Now it’s time to create your own icon pack. Tap on the orange plus sign in the bottom right-hand part of the screen. This will ask you to create a name for your new icon pack. Decide on something sensible, then tap OK to be taken along to the next screen.

  • Combine the packs

This screen offers a number of different options. First you have to select which icon packs you can use. With the free version of Icondy you can only use two packs at once, but if you upgrade to the premium version, you’ll be able to combine more.

  • Follow the instructions

Next select which of your icon packs you want to be the default, and choose a default icon. Then it’s time to blend your icon packs. Tap the button at the bottom and you’ll be show a list of all the icons that you’ve currently got on your device.

  • Save the pack

When you’ve finished choosing which icons you want to use for the different apps, it’s time to create your icon pack. To do this tap the tick in the top-right corner. Depending on how many switches you’ve made, it might take a while. Tap back when it’s done.

  • Apply the pack

Lastly, head back to the main page of the app. You’ll see your newly created icon pack displayed at the top of the page. Tap on the arrow-like icon next to the name of your pack, and then tap on Lucid Launcher to apply it. You’ll now have mixed icons.

Videos:-


السبت، 5 سبتمبر 2015

Save battery by killing background services - Hackers Trick

Sweep your device for battery-hogging apps that are running in the background

We all want to make the battery on our Android devices last a little longer, but this isn’t always easy when apps and services run in the background without your knowledge. Maybe this is because an app is misbehaving, or perhaps you’re in the bad habit of never closing your apps properly. [root] Servicely is an app that periodically checks what’s running in the background and if it finds a service that appears on your [root] Servicely ‘hit-list,’ it kills that service. Since [root] Servicely scans the background only, you shouldn’t encounter any problems with the apps you’re interacting with in the foreground. For example, if you add Facebook to [root] Servicelys hit-list, it won’t kill this app when it’s visible on screen. However, once you send Facebook to the background, the next time [root] Servicely performs its sweep, it’ll kill the Facebook app. Please note that [root] Servicely does require root.

You Must Also Check Out:- Boost your battery with IFTTT recipes

Steps to Save Battery:- 


  • Create your hit-list 

Download [root] Servicely from Google Play, then launch it and grant super user permissions. To tell [root] Servicely which apps to kill if it catches them running in the background, tap ‘Add a new app to the hit-list’ and then tap all the apps you want to add.

  • Identify problem apps

Pay particular attention to the Running Services area as this is helpful for targeting apps that are running in the background without your knowledge. Also be on the lookout for apps marked ‘Can wake-up the device’ as these are the ones that can really eat into your battery.

  • Enable [root] Servicely 

After selecting some apps, create your hit-list by tapping the checkmark. To double check the contents of your hit-list, go to the main screen and swipe to Hit-List. Tap the slider in the upper right and [root] Servicely will now monitor the services running on your device.

  • Change interval period

By default, your running services are checked every 60 seconds. To change this, tap Interval Period… and enter a new value. If you find [root] Servicely is killing apps you’re still using, try turning the Aggressive Process Termination slider off. 

  • Pro features


You can unlock additional features by purchasing the Pro version. To upgrade, tap Upgrade to Pro and follow the instructions. Once you’ve upgraded to Pro, you can set up the app so it automatically starts whenever you turn your device on (Start on Boot).

  • Advanced mode

The pro version also lets you Disable Individual Services, which is useful if there are features of apps you never user. However, disabling services randomly can cause problems with your device so make sure you know exactly what a service does, before you disable it.