‏إظهار الرسائل ذات التسميات Phonograph. إظهار كافة الرسائل

الخميس، 25 فبراير 2016

Get Samsung Galaxy Edge Style Notifications On Your Android Device...

Get Edge-style notifications about incoming phone calls on any Android device
The Samsung Galaxy S6 Edge came with an innovative way of displaying notifications - illuminating the bevelled edge along the side of the screen. Now even if you don’t have an S6 Edge, you can still get a taster of this Edge display using the Edge Color Notifications app.
The drawback is that no device other than the S6 Edge has that bevelled edge, so the app compensates by illuminating the edges of your screen with animations instead. You can also assign specific colours to your important contacts, so you can see who’s calling at a glance. You can even tell the app to reserve animations for the contacts you’ve assigned a colour to, so if you see an Edge-style notification, you’ll know someone important is calling!

STEPS TO STYLE...

1. Enable settings

Download the Edge Color Notifications app from the Play store and launch the app. To set up Edge Color Notifications, open the side menu and select Home. Enable both the People Edge and Phonecall notification options. Open the side menu and select Phone Call Settings.

2. Customise Your Columns

You can customise the Edge effects for when you receive a phone call. This includes changing the width of the animated columns (so the effect is more noticeable or subtle) and changing the column’s default colour. You can also choose from a list of animations.

3. Left, Right Or Both

One of the most important changes you can make is choosing which side of the screen your animations will appear: left, right or both. If you select the Full Border animation, your columns appear around every side of the screen, regardless of what you select here.

4. Assign specific colours

By default, Edge Color Notifications will apply the same colour to every single person in your contact lists, but you’ll usually get more value out of the app by assigning specific colours to people. To do this, open the side menu and select Contacts Colors.

5. Choose a new colour

You’ll see a list of all your contacts, with the same default colour next to each contact. To assign someone their own colour, tap the block of colour that appears next to their name and choose a new colour from the pop-up that appears. Tap OK to save your changes.

6. Be Selective

Once you’ve finished assigning colours, you can restrict Edge Colour so that it only displays the Edge animations for contacts that you’ve assigned a specific colour to. If this is the case, return to Phone Call Settings and select Only show contacts with specific color set.

Enjoy your Edge notification Style device...

الاثنين، 31 أغسطس 2015

Organise your playlists with Phonograph

Enjoy the fresh look and feel of this Material Design music player app.


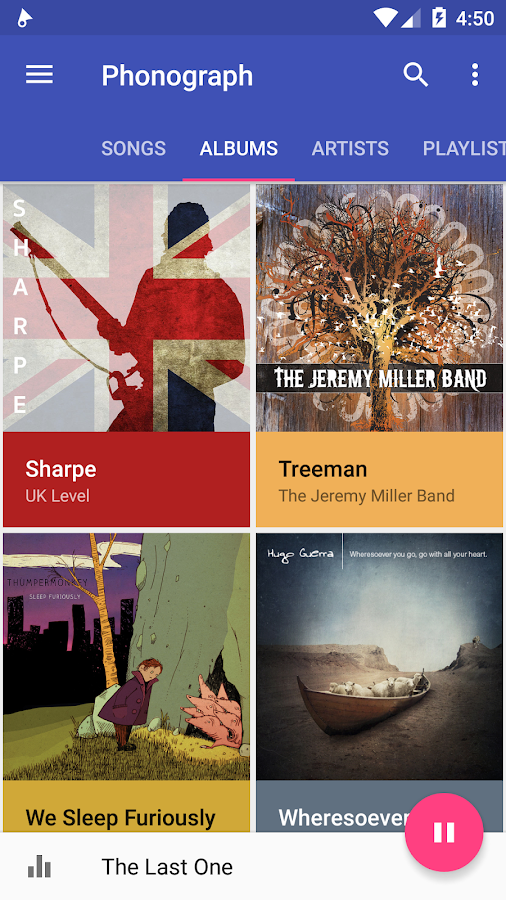
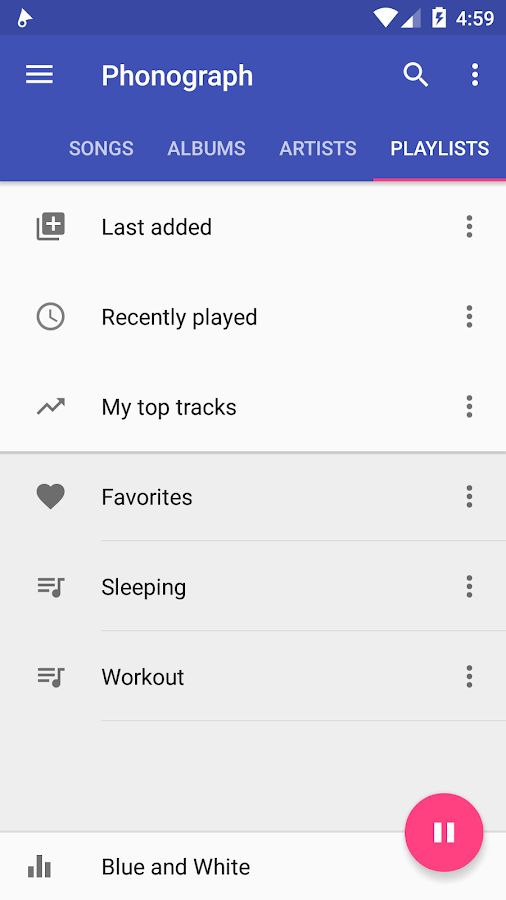
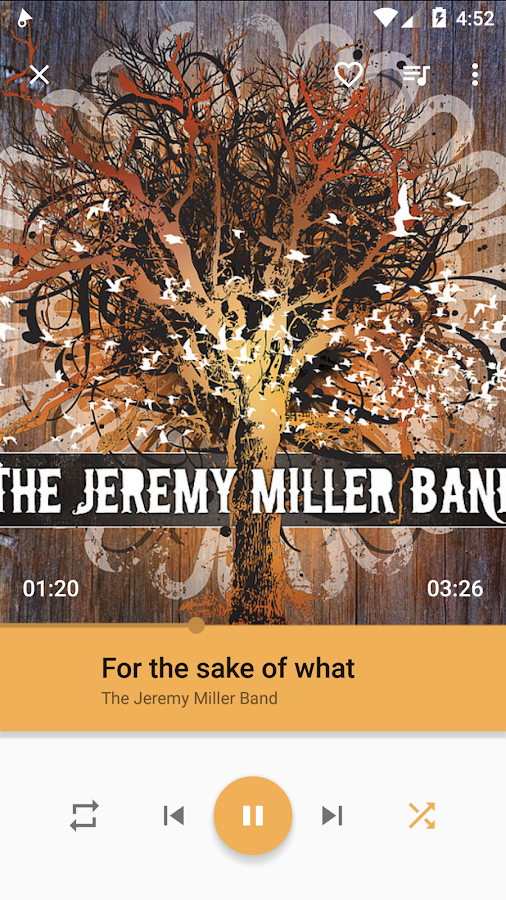
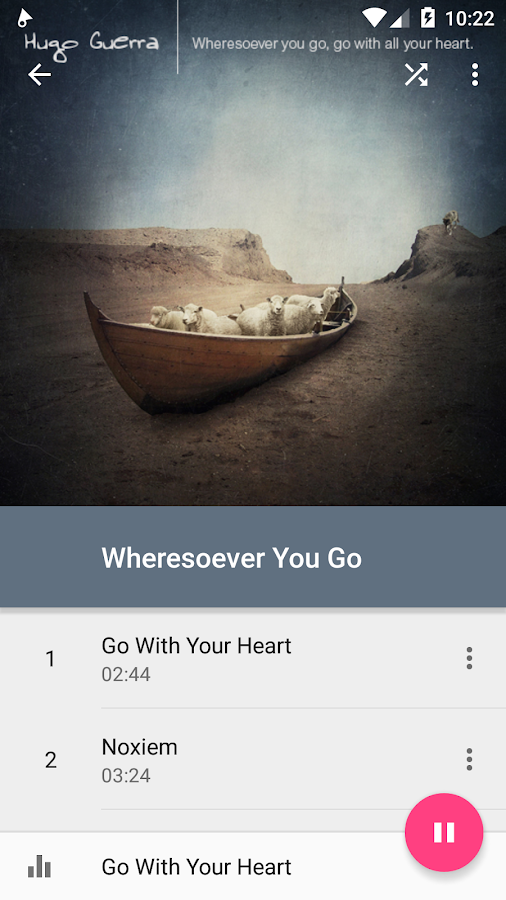
Mobile music players can be tricky apps to negotiate. It is easy to get lost in a sea of album covers, playlists and artists. If you find this, then Phonograph Music Player might be the one for you. At time of writing it is still in its beta phase with more features being promised, but right now it is a simple, attractive, easily-navigable music player. It works alongside Last fm, giving users photos and biographies of the artists that they’re listening to. The always there play/pause button also enhances the user experience, making Phonograph a truly enjoyable app to use. If you are a technical music fan, you can also change the equalisation of individual songs to increase or decrease the bass at output of certain frequencies, enabling you to create your very own versions of your favourite songs. This tutorial will show you how to organise your music onto the app as well as how to construct playlists, jump to artists straight from their song and tag your music for much easier future navigation.

 If you are a technical music fan, you can also change the equalisation of individual songs 

 Tips With Steps For Best Set-up

  •  Get the app and music.. 

Click here to download app:-

Head to the Google Play store and download ‘Phonograph Music Player Beta’. Ensure you have music downloaded on your phone. Unfortunately music downloaded from Google Play Music won’t play on Phonograph, so you may have to download tracks from another service.

  • Sort your music..

You will see a screen featuring all your music. Tap on the word Songs, Albums or Artists to access your music sorted into those categories. Playlists is an option but you won’t have any set up yet. You can also access these groups by tapping the three-line menu in the top-left corner.

  • Build a playlist

Head to the Songs menu and tap on the three-dot menu on the right-hand side of one of your songs. Select the ‘Add to Playlist’ option and that will bring up another menu where you can decide whether to add it to an existing playlist or create a new one.

  • Create a playing queue


If you want to play a certain selection of songs but don’t want to create a playlist, you can add tracks to the playing queue. Tap the three-dot menu at the side of the song again and choose ‘Add to Playing queue’. Phonograph will then play that track next.

  • Add tags to your music

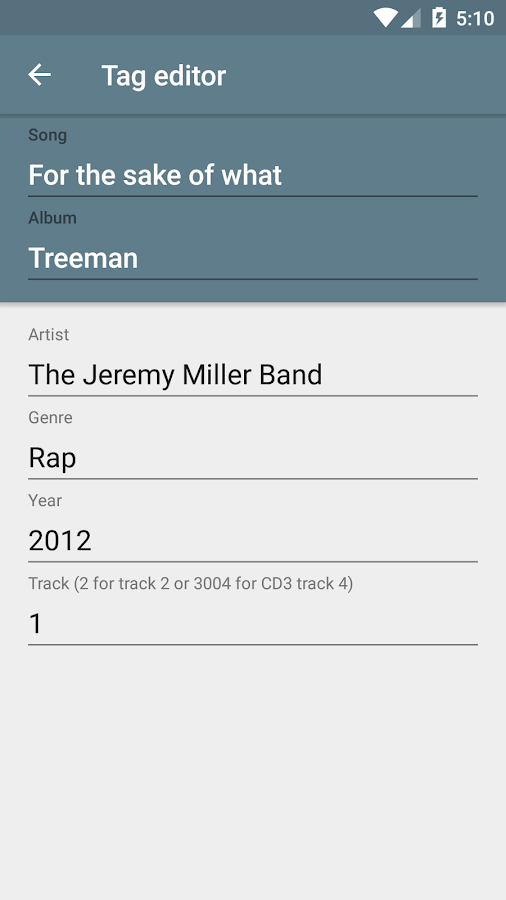
Tap on the three-dot menu next to a song and scroll down to Tag editor. From here you can add in certain tags, such as the song title or the artist, for example. This is especially handy if you’ve downloaded music without that information, as you will probably need it.

  • Edit your music

Tap the three-dot menu in the top right-hand corner of the app and hit Equalizer. Press the Off button to turn it on and play around with the FX and boost levels. Unfortunately you can’t edit tracks on a song-by-song basis so may have to change it regularly..

  • Change the design


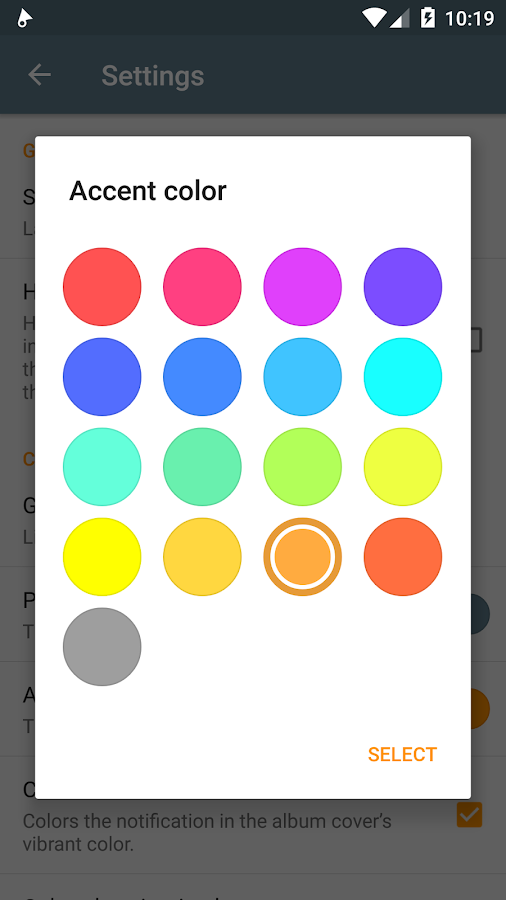
Tap the three-line menu in the top-left corner and then hit Settings. From here you can edit the look and feel of the app. You can change the colour scheme, the transparency of the toolbar and what page the app opens onto. This customization keeps the app fresh.

  • View your albums


Tap on the Albums category header. Next, tap the three-dot menu in the top-right corner or the menu button of your phone. This will bring up a menu that has an option called Grid columns. Tap on that to choose how many album covers you want per row.


Enjoy Your Music........"A Day Without Music Is Like A body Without Sole"