الأحد، 28 فبراير 2016

Tutorial:- Get started with gesture typing...

Hate typing? Supercharge your text entry by setting up gesture typing...


Typing on Android devices can feel like a time consuming and frustrating experience, particularly if you’re used to touch-typing on your laptop or computer. One technique that can really boost your words per minute is gesture typing. This is where you swipe to type across the keyboard, passing through all the letters you want to input rather than tapping each one individually.
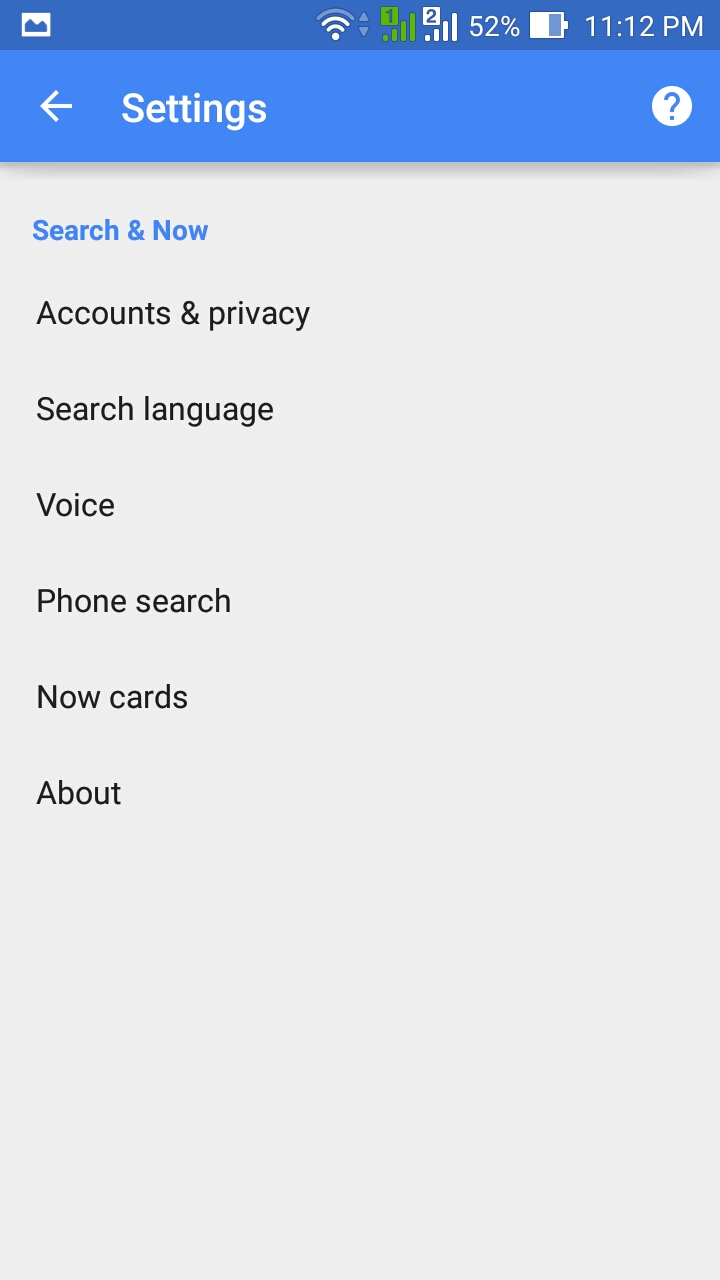
In this tutorial, we’ll look at how to gesture type on the stock Google keyboard, which comes pre-installed on most devices. You can check which keyboards are installed on your Android device by opening your Settings, selecting Language & input and then checking what keyboards appear under the Keyboards & input method heading. If you don’t have access to the Google Keyboard, you can download it from the Play store.

  • Steps...


1. Enable gesture typing

Make sure gesture typing is enabled by opening your device’s Settings and selecting Language & Input. Tap Google Keyboard> Gesture Typing and check that the Enable gesture typing slider is set to the On position. If it isn’t, then tap the slider.

2. How to customize

This menu includes some additional settings. When Dynamic floating preview is enabled, the system tries to guess the word you’re entering by displaying a floating bubble. When Show gesture trail is enabled, you’ll see the path of your gesture across the keyboard.

3. Write with Gestures

To use gesture typing, open the keyboard and long press on the first letter of the word you want to type, then slide your finger slowly across all the subsequent letters. When you see the word you want to input, release your finger and the word will appear.

4.Try third-party keyboards
If you find Android’s built-in gestures lacking, you can try a third-party keyboard app. One popular alternative is SwiftKey, which you can download for free from Google Play. Launch the app and follow the onscreen instructions to set SwiftKey as your default keyboard.

5. Switch to Gesture mode

Gesture typing in SwiftKey works the same as in Android’s default keyboard, but it also has a Gestures mode where you can use shortcuts. To switch modes, launch the app, select Typing>Typing & Auto correct and Flow or gestures. In the pop-up, select Gestures.

6. Try swipe Gestures

In Gestures mode you can no longer gesture type, but you can swipe left to delete a word and swipe up on the keys to capitalist them. If you want to resume gesture typing at any point, you can simply switch back to the original Flow mode.

Walkthrough: Assassin's Creed Unity #52 (Paris Story: Flying Boy and Carmalite Nuns)


الخميس، 25 فبراير 2016

Walkthrough: Assassin's Creed Unity 51-Paris: Bande Noire, Iscariotte Giant, Headline Guillotine


[6582][3.4.67] Temasek v3 UNOFFICIAL CM12.1 r34 based ( February built)

TeamSek V18.9 Unofficial CM12.1 (r34 based)

Features - 

Changelog of  v3 :


‪#‎fixed‬ video recording (720p and 1080p)
‪#‎video‬ colour
‪#‎added‬ fm radio
#added level 7 bettery tweaks
#added all latest fix


 Feature Based on latest Source
Removed Emulated
Sd card set as default
Super Smooth
More stable and smoother than CM12.1 Builds (Bugless)
Apps2SD working fine
Run HD games
Video Recording working (Works on 720p resolution)
USSD working
GPS working
1080P playback
Stability improved
Super fast boot up
Additional Boot Up Features
Super fast App optimization
Themes Working
SMS working
No Network drops
Battery backup compare to miui rom

Additional Features Of TemaSek

TRDS Mode (Night & Daytime Modes)
Buttons (Nav Bar Add & Remove)
TemaSek Spare Parts (many more in this)
On-The-Go mode
Breathing feature & many more to 
Explore


Bug/ limitation -

Fm only headphone.. Sometimes speaker works
Vpn

For youtube -  youtube limited resolution fixed now you can play 720p or 1080 in latest version 
install this file via custom recovery (but first you must download latest version of youtube


Link - Youtube fix


Credits -

@Pawan Diwal
@Rohan Taneja
@Santhosh M
@fire855
@Al3XKOoL
@chrmhoffmann
@DerTeufel1980
@ariafan
@hyperion70
@diparthshah_
@ferhung
@temasek
@arter97
And of Course
Team Roger That! 


Downloads


TemaSek v3 for Primo GH2


Gapps and superuser download from Final v2

Get Samsung Galaxy Edge Style Notifications On Your Android Device...

Get Edge-style notifications about incoming phone calls on any Android device
The Samsung Galaxy S6 Edge came with an innovative way of displaying notifications - illuminating the bevelled edge along the side of the screen. Now even if you don’t have an S6 Edge, you can still get a taster of this Edge display using the Edge Color Notifications app.
The drawback is that no device other than the S6 Edge has that bevelled edge, so the app compensates by illuminating the edges of your screen with animations instead. You can also assign specific colours to your important contacts, so you can see who’s calling at a glance. You can even tell the app to reserve animations for the contacts you’ve assigned a colour to, so if you see an Edge-style notification, you’ll know someone important is calling!

STEPS TO STYLE...

1. Enable settings

Download the Edge Color Notifications app from the Play store and launch the app. To set up Edge Color Notifications, open the side menu and select Home. Enable both the People Edge and Phonecall notification options. Open the side menu and select Phone Call Settings.

2. Customise Your Columns

You can customise the Edge effects for when you receive a phone call. This includes changing the width of the animated columns (so the effect is more noticeable or subtle) and changing the column’s default colour. You can also choose from a list of animations.

3. Left, Right Or Both

One of the most important changes you can make is choosing which side of the screen your animations will appear: left, right or both. If you select the Full Border animation, your columns appear around every side of the screen, regardless of what you select here.

4. Assign specific colours

By default, Edge Color Notifications will apply the same colour to every single person in your contact lists, but you’ll usually get more value out of the app by assigning specific colours to people. To do this, open the side menu and select Contacts Colors.

5. Choose a new colour

You’ll see a list of all your contacts, with the same default colour next to each contact. To assign someone their own colour, tap the block of colour that appears next to their name and choose a new colour from the pop-up that appears. Tap OK to save your changes.

6. Be Selective

Once you’ve finished assigning colours, you can restrict Edge Colour so that it only displays the Edge animations for contacts that you’ve assigned a specific colour to. If this is the case, return to Phone Call Settings and select Only show contacts with specific color set.

Enjoy your Edge notification Style device...

السبت، 20 فبراير 2016

#Hacker zone - Underclock for better battery life...


A few choice tweaks to your kernel settings can also extend the life of your battery Changing the clock speed is always about finding the right balance between power and battery life. Overclocking will likely require you to sacrifice a little of the latter.

Underclocking is the opposite: it involves reducing the speed of the processor in an attempt to extend your battery life.It isn’t a magic wand. Underclocking causes some tasks to take longer to complete, which offsets the benefits of having the processor using less power at its maximum level. Nevertheless, for some tasks it can be beneficial and switching the governor can have noticeable effects. As ever, the best approach is to experiment with settings to find ones that work for you. And don’t push things too far – if you set the processor clock speed too low it may not deliver enough speed for your apps to work. 

1. Set up the app

In EX Kernel Manager, create a backup of your existing kernel settings. Open the sidebar and select Tools, followed by Kernel Backup. Tap the disk icon to create the backup and give it a recognisable name should you need to restore it someday.

2. Reduce the clock speed

Now go into the CPU settings. Underclocking is the same as overclocking, except in reverse. Try experimenting with lower maximum frequencies, so that your phone runs at a slightly slower speed, causing it to use less power. Just don’t overdo it!

3. Change the governor

You also need to adjust the governor settings. The obvious one to use is the Powersave governor, which locks the CPU to the lowest frequency. However, you might do better with the Performance governor, so that tasks will complete in the shortest possible time.

4. Test the changes

Exit the app and then test your changes. Open a few apps or games and run a few common tasks. It’s likely that you’ll notice the phone is a little slower, but if it’s too slow then you will need to tweak your changes. You want to find a balance between speed and batter.

5. Explore Powersave mode

The EX Kernel Manager also has a Powersave utility. This is activated by tapping the leaf icon at the very top of the app’s screen. This mode sets the processor to run at predefined levels and enables you to quickly reduce power consumption.

6. Tweak settings

To change the Powersave mode settings, tap the three-dot menu icon and choose Settings. You can set Powersave to activate automatically on a certain battery level or hit Advanced settings to reduce the CPU speed even further. Again, keep your changes small.

Enjoy Great New Powerd Life....

Walkthrough: Assassin's Creed Unity #46 (Paris Story: Flamel's Secret-Denis Molinier and The Condorcet Method)


الجمعة، 19 فبراير 2016

Walkthrough: Assassin's Creed Unity #45 (Paris Story: Sewer Rat and The Little Prince)


Be expert :- #1 Set the apps that Google Now can scan

Get Android’s assistant to search and send Notifications from your apps...

Google Now is often described as Android’s personal assistant, but it does more than search the web and notify you about events. Android devices putons of useful Information at your fingertips. Google Now has been designed to filter that mass of data For details that might be important to you at any moment and make it easily available. It does this by indexing data stored in your apps. When you enter terms in the Google.
search box on your homescreen or verbally preface instructions with the words ‘OK Google,’ it returns results found in this data and on the internet. It will also display Now cards with updates that have been generated by compatible apps you have installed. Like any good assistant, Google Now needs some training. This involves telling it which apps store important information and which ones should send cards.

1. Call Up "Google Now"

If you haven’t already turned on Google Now, activate it by tapping the Google search bar Or the icon simply labelled Google and follow the Onscreen instructions. If Google Now is already Working, swipe up from the home button or long Press home if you’re on a Samsung device.

2. Open The Menu

Once Google Now is running, tap the three horizontal lines in the top-left corner of its main screen to access the menu. This takes you to where you tell Google Now which apps to index so their names and content show up in searches and the apps that should generate cards.

3. See What Search Sees

Tap Settings and then Phone Search to show a list of what Google Now can scan for the data it presents when you search for something. All apps will be catalogued, but only those storing data on your device, such as Contacts and Play Music, will have their content indexed.

4. Choose Apps To Index

All of the apps listed under Phone Search are indexed by default. If Google Now is trawling through apps you don’t use though, this could drain your device’s battery and might slow it down. By removing the tick mark beside a redundant app, it will tell Google Now to ignore it.

5. Grant Permissions 

For third-party apps to show cards in your Google Now stream, you need to give Google permission to track what you use. To do this, open the Google Settings app and tap Personal Info & Privacy. Then tap Activity Controls and check that Web & App Activity is switched to On.

6. Pick A Card

Some third-party apps can generate a Now card every day while others rarely post cards. Google Now can also be set to post cards based on your location. To set card permissions for third-party apps, go back to Google Now’s menu and tap Customize to access the Now Preferences menu.

7. Review Other Apps Settings

Under Now Preferences, look for the Apps & Websites option. If you haven’t entered your transportation choices in Google Now, you’ll have to scroll down below the settings for these. Otherwise, you should see Apps & Websites about halfway down the screen. Tap on it.

8. Say Yes To Everything

To see Now cards from third-party apps on your device, ensure that Yes is selected under the All Apps & Websites and Location headings. Some apps have individual settings that might be set to No by default. Tap these and choose Yes to get cards from them too.

Enjoy "Google Now" just say it ...

Walkthrough: Assassin's Creed Unity #44 (Paris Story: Flamel's Secret - The Monks and A La Lanterne!